Image by Jessica Lea Dunn via
Here are step by step instructions that show you how to make a pinata cake! It’s really so easy, but the effect when you cut it open will impress everyone!
I made this chocolate pinata (or more correctly, piñata) cake especially to celebrate the release of the movie Alexander and the Terrible, Horrible, No Good, Very Bad Day. Have you seen the film? It’s good family fun!
The release also happened to coincide with the Australia Day long weekend here in Sydney, so it was great that I could decorate to the theme of the movie and throw a mini Australia-themed Alexander party at home!
Now for the cake – I did tell you it was easy, and I’m not joking.

Image by Jessica Lea Dunn via
I simply bought four of my favorite gluten free packet mix chocolate cakes and made four round cakes using an 8-9 inch tin, following the instructions on the back of the packet. Luckily, the frosting also comes in the packet, but you could always just use your favorite chocolate frosting recipe – or even a white butter cream frosting would work here.
Now I’m going to teach you how to make a pinata cake – are you ready to assemble it?
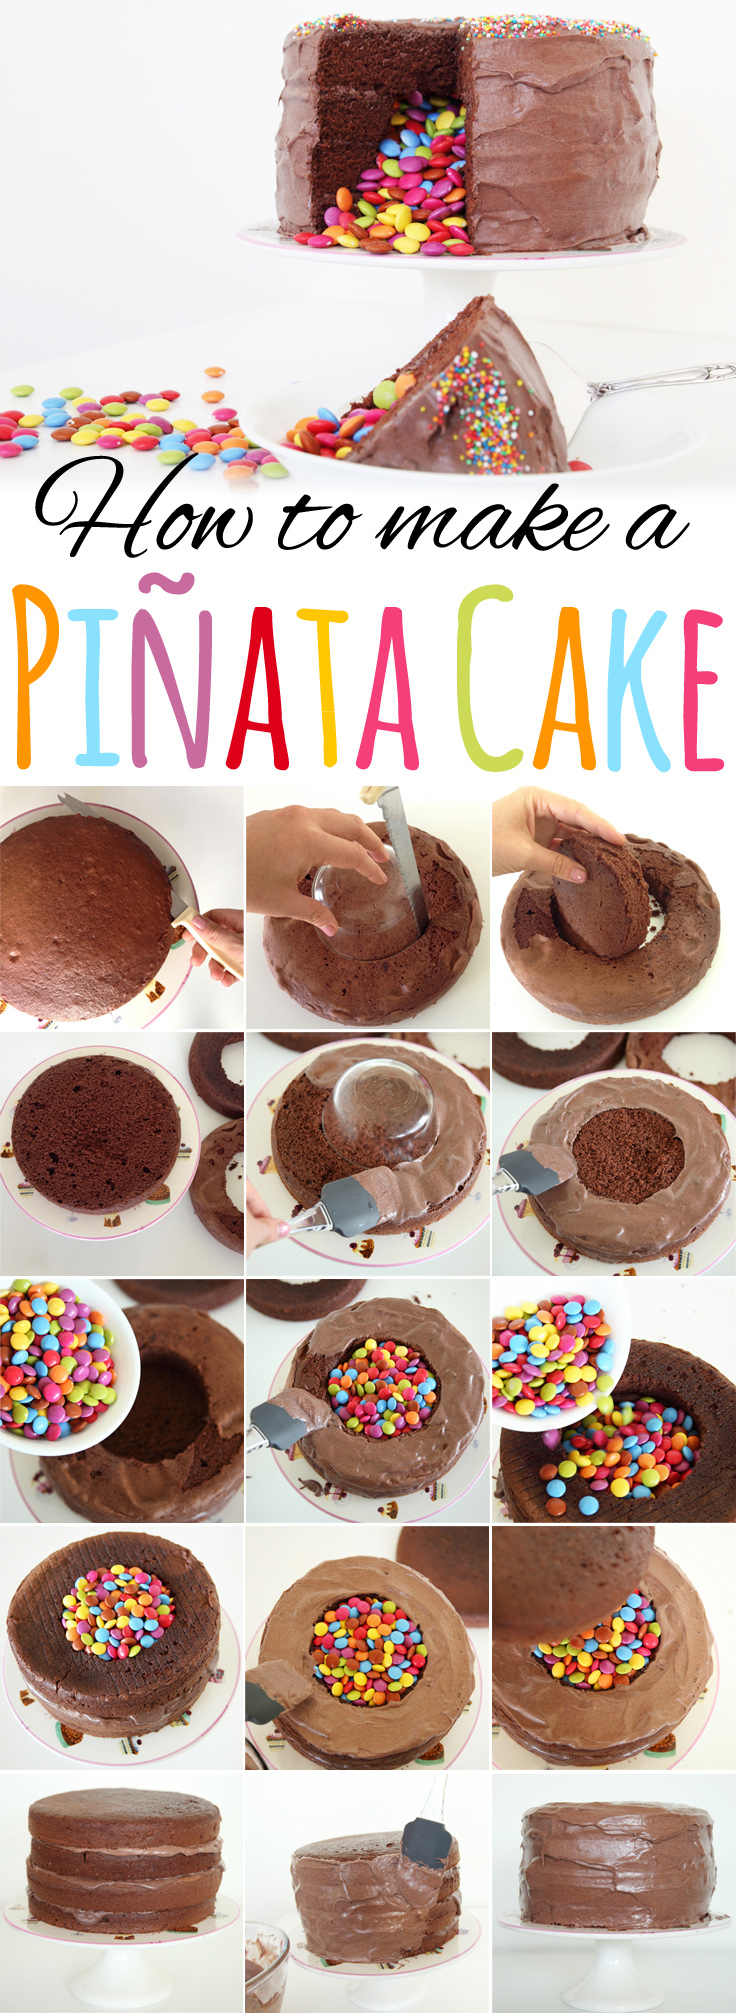
STEP BY STEP INSTRUCTIONS:

Image by Jessica Lea Dunn via
1. Cut a hole in two of your cakes using something round eg. a ramekin dish as a guide.
2. Place one of your whole uncut cakes on your cake base or stand.
3. Ice around your first cake in a ring-shape (you can use the ramekin dish as a guide again here).
4. Place one of your cut-out cakes on top of the first cake layer.
5. Start filling the hole in the middle with candy (I used Smarties which are a bit like M&Ms – a classic candy that everyone knows from their childhood and loves here in Australia!)
6. Spread icing in a ring-shape around the top of your first cut-out cake.
7. Place your second cut-out cake on top.
8. Fill the hole again with candy until completely full – with Smarties or your favorite candies!
9. Spread icing in a ring-shape around the top of your second cut-out cake.
10. Place your remaining cake on top to “put the lid on” your candy-filled edible piñata.
11. Now its time to completely cover your cake in frosting – so nobody will suspect what you have hidden inside.
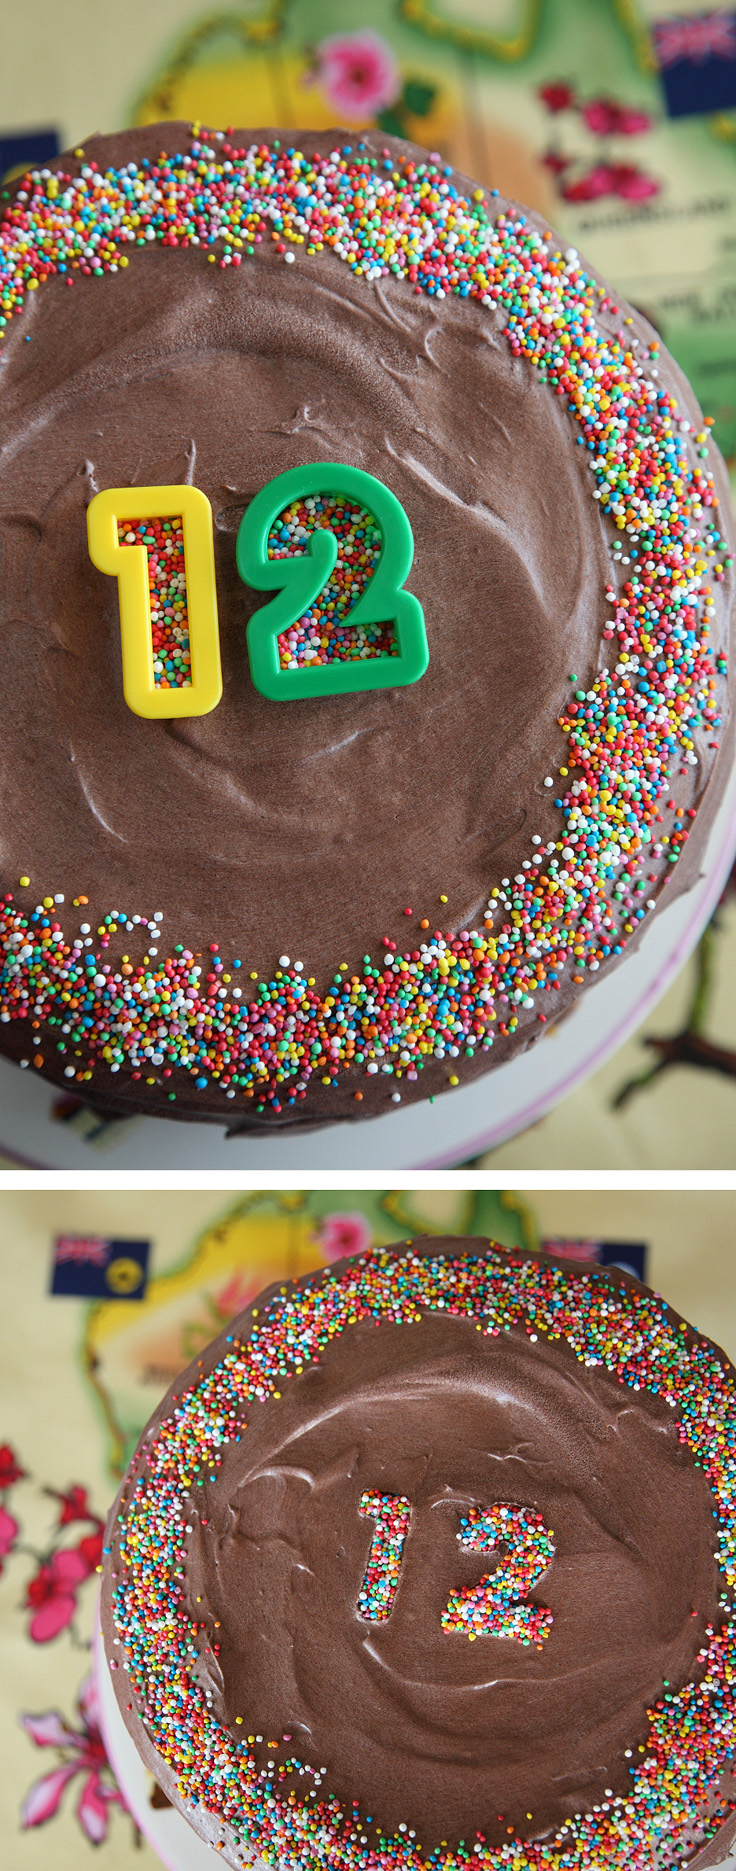
12. Perhaps add sprinkles as a final touch – and you are done! Pro decorating tip: You can even use cookie cutters to write a number or word on your cake.

Image by Jessica Lea Dunn via
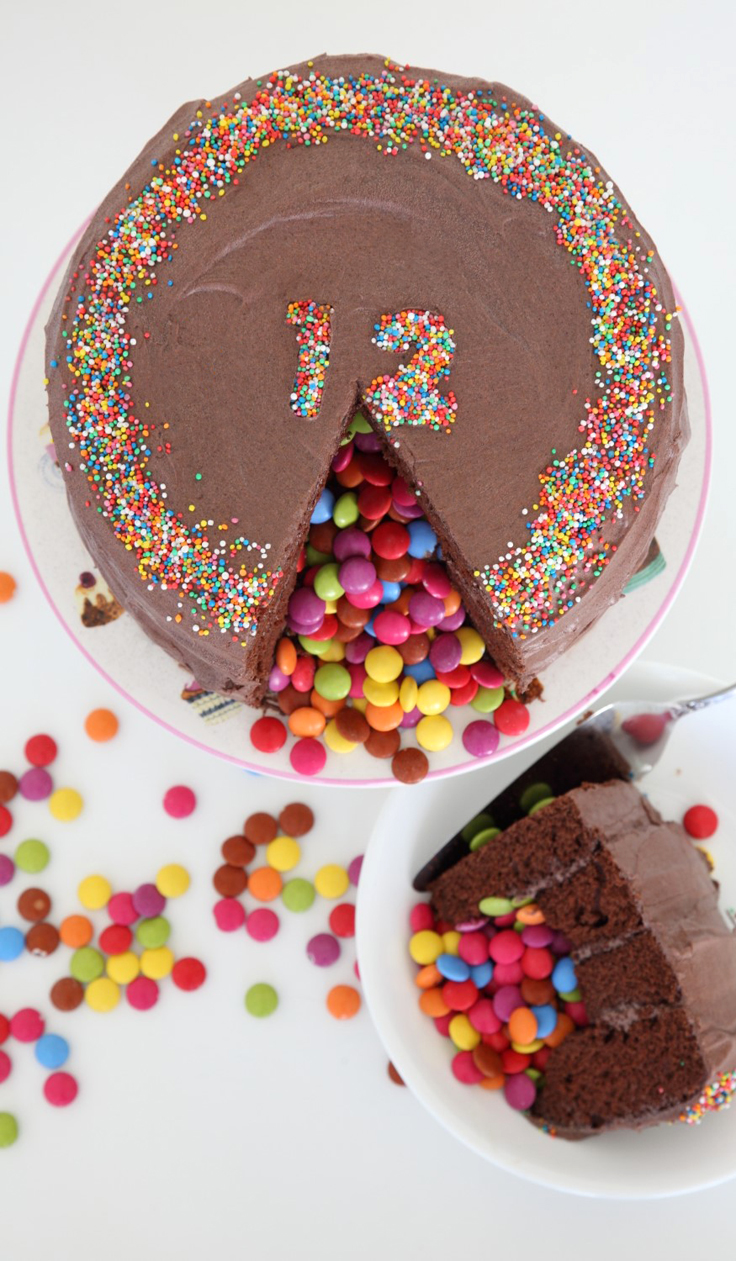
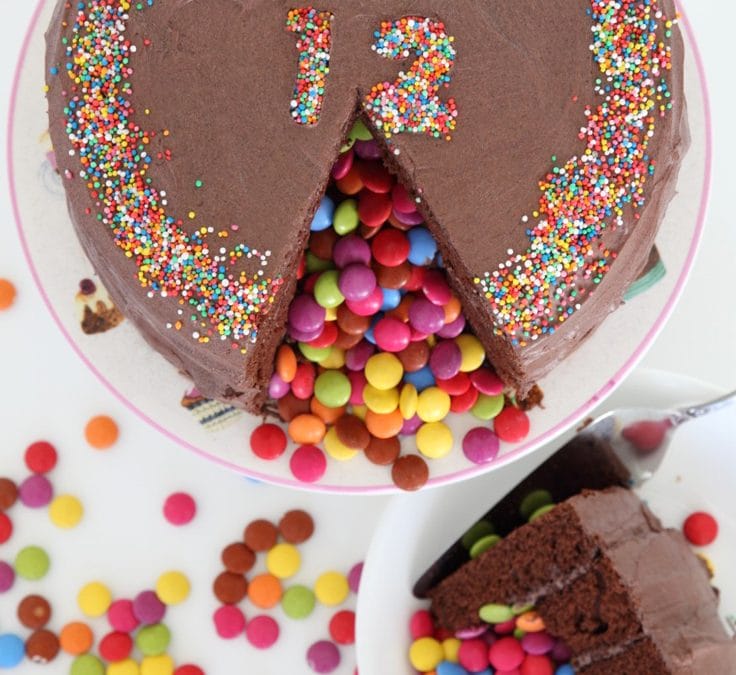
Now, when it comes time to cut the cake open and serve up your first slice, it will explode everywhere with colorful, sugary goodness, much to everyone’s surprise and delight!

Image by Jessica Lea Dunn via
So that, my friends, is how to make a pinata cake! Happy baking!
For more Alexander-inspired recipe fun, click here.


Can you make this cake a day ahead of time or is that a bad idea?
You definitely can make it a day ahead! As long as you store in the fridge, and bring back to room temp before serving. 🙂
Is it ok to make a day ahead with m&ms inside? I’m worried they might sweat and the colours will run when bringing it back to room temperature :0
Great cake gonna try it for sure.
This is a must for me going to surprise my daughter x